Tahoedonner
Member
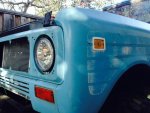
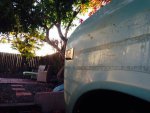
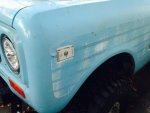
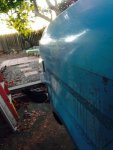
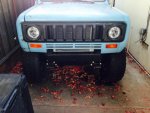
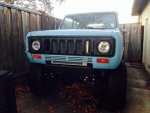
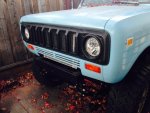
Finally some more progress. Got some bad news from my landlord a couple weeks ago letting me know that his son will be moving in to the house we live in. Finding a rental house in the peninsula is hard enough let alone one with a garage big enough to house the Scout and all its pieces. After weeks of searching we found one though. Needless to say it was time to start sanding and painting as many heavy and large parts as possible and getting them back on the truck. Was able to get the roll bar in, hitch (not even sure if I will keep it or not), hood hinges, and front sway bar taken care of. I also decided that the rear flare I did just wasn't sitting well with me and decided to rip out the entire rear brake line and just bend a new one. Here are a couple progress pics.
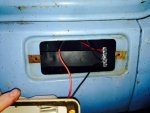
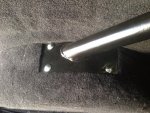
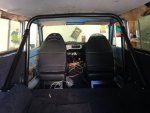
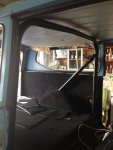
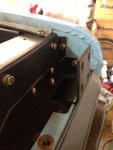
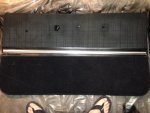
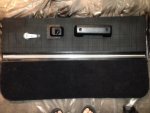
Roll bar from different angles:
it is a very tight fit on the speakers and if I were to do it over again I would have pushed the speaker back so they are not covered by the roll bar. There was already a hole there from before so this was where they were going. Being covered by the bar does make them impossible to steal though.


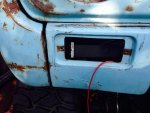
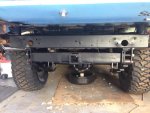
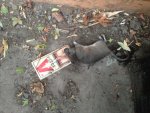
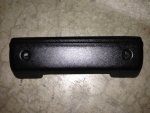
Hitch: will I keep it? Not sure. We'll see if I like it after a rear fabbed bumper is installed.


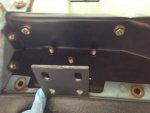
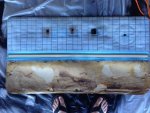
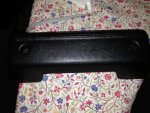
Hood hinges: boring but progress nonetheless


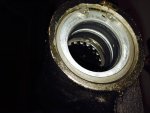
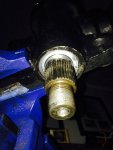
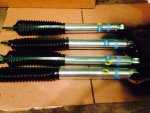
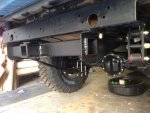
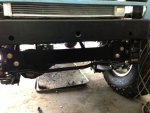
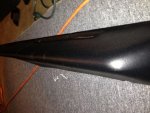
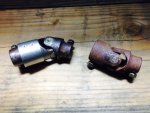
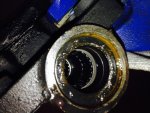
Front swaybar:


Roll bar from different angles:
it is a very tight fit on the speakers and if I were to do it over again I would have pushed the speaker back so they are not covered by the roll bar. There was already a hole there from before so this was where they were going. Being covered by the bar does make them impossible to steal though.
Hitch: will I keep it? Not sure. We'll see if I like it after a rear fabbed bumper is installed.
Hood hinges: boring but progress nonetheless
Front swaybar:
Attachments
-
 IMG_0019.jpg110.1 KB · Views: 2,285
 -
 IMG_0020.jpg41.3 KB · Views: 2,192
 -
 IMG_0021.jpg50.2 KB · Views: 2,242
 -
 IMG_0024.jpg31.8 KB · Views: 2,245
 -
 IMG_0022.jpg58.3 KB · Views: 2,177
 -
 IMG_0023.jpg59.6 KB · Views: 2,130
 -
 IMG_0220.jpg41.8 KB · Views: 2,282
 -
 IMG_0221.jpg29.6 KB · Views: 2,160
 -
 IMG_0222.jpg65.1 KB · Views: 2,209
 -
 IMG_0225.jpg59.5 KB · Views: 2,160

 nice. She have a single sister, that's into scouts too? Haha, just kidding. Love seeing the progress.