Tahoedonner
Member
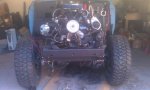
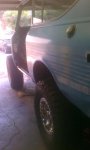
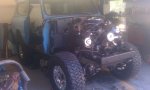
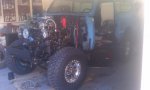
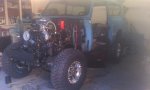
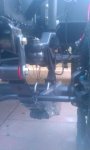
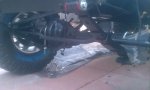
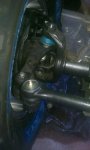
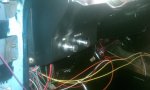
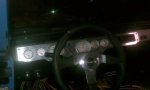
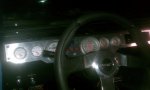
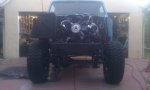
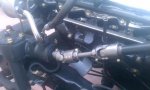
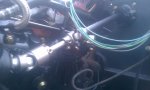
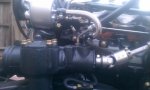
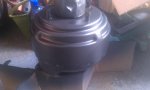
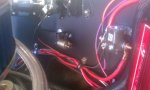
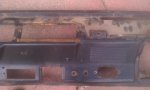
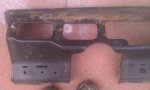
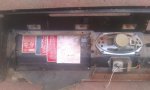
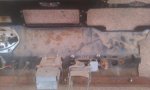
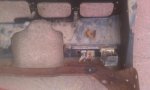
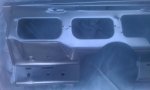
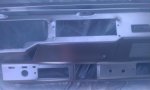
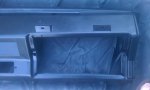
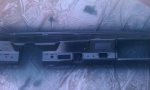
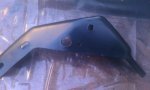
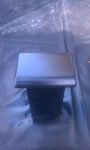
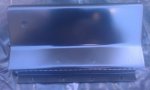
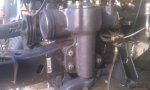
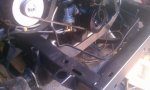
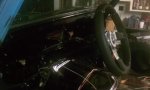
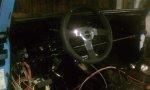
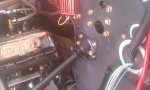
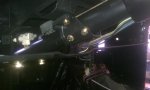
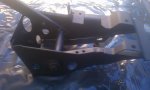
Got some more work done over the weekend and so far this week. Most of the engine bay wiring is finished. Heat shrunk all connections and will be covering all wire runs in split loom. Picked up a 100 amp alternator because mine needed a rebuild and I knew in the future I was going to need the extra amperage. Right now I'm running with the single pulley on the alternator. I have additional dual pulleys to swap on if I need to. We'll see if I have any slippage. Need to start on the dash and steering column wiring so I needed to get the steering column and dash cleaned up and painted. I coated them in eastwood semi gloss black. They turned out great. I also have an IH only dash panel and auto meter gauges that will be going in.
Here's a few pics of the progress:
alternator

Wiring for now:


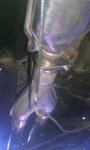
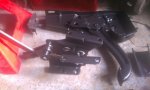
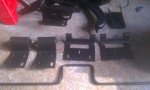
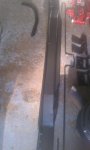
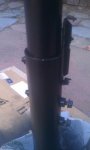
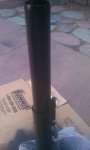
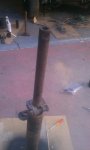
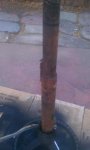
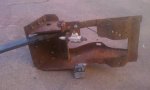
Steering column and shaft
before

After

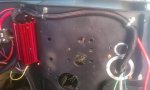
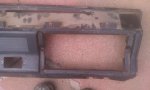
Dash
before


After


Here's a few pics of the progress:
alternator
Wiring for now:
Steering column and shaft
before
After
Dash
before
After
Attachments
-
 2012-08-21 16.03.57.jpg43.1 KB · Views: 3,069
 -
 2012-08-21 17.58.11.jpg42.2 KB · Views: 2,926
 -
 2012-08-21 17.57.44.jpg30.5 KB · Views: 2,962
 -
 2012-08-21 17.57.19.jpg41.6 KB · Views: 2,998
 -
 2012-08-21 17.57.02.jpg20 KB · Views: 773
 -
 2012-08-21 17.56.14.jpg23.5 KB · Views: 2,938
 -
 2012-08-21 16.44.45.jpg21 KB · Views: 698
 -
 2012-08-21 16.44.29.jpg24.9 KB · Views: 3,065
 -
 2012-08-22 09.22.06.jpg43.8 KB · Views: 2,170
 -
 2012-08-22 09.21.56.jpg41.1 KB · Views: 2,946
 -
 2012-08-22 09.21.47.jpg43.6 KB · Views: 2,962
 -
 2012-08-22 08.37.52.jpg44.9 KB · Views: 2,005
 -
 2012-08-22 08.37.42.jpg43.9 KB · Views: 2,930
 -
 2012-08-22 08.37.32.jpg45.9 KB · Views: 2,939
 -
 2012-08-22 19.11.37.jpg27.4 KB · Views: 2,920
 -
 2012-08-22 19.11.52.jpg30.2 KB · Views: 2,952
 -
 2012-08-22 19.12.11.jpg30.9 KB · Views: 2,956
 -
 2012-08-22 19.12.26.jpg37.9 KB · Views: 2,997
Last edited:


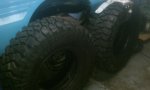
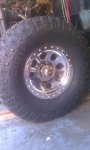
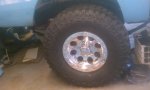
 I'll steal them and leave you a nice set of 205's