Scoutboy74
Moderator
No Step on Snake! That will look awesome! Obviously I'm partial to that symbol also.
That will look awesome! Obviously I'm partial to that symbol also.
 That will look awesome! Obviously I'm partial to that symbol also.
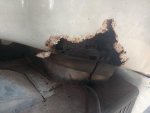
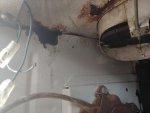
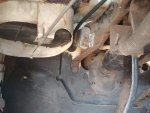
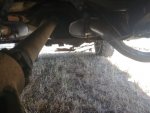
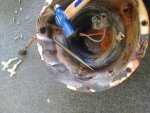
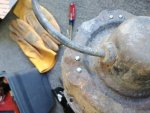
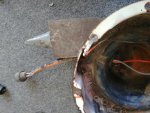
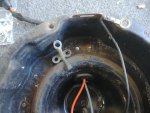
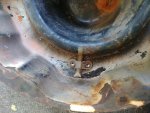
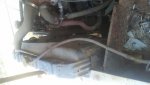
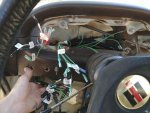
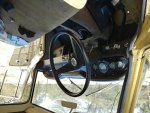
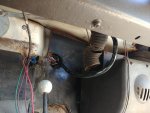
Aaalrighty back to work I go.... Yeesh. I've hit one of those things, that I knew was there but didn't want to acknowledge at any cost. See pics. I'm not sure what the best way to address this is. Maybe cut out the rust with a dremel tool and just leave a larger but clean edged hole? But if I do will water pour in? I'm going to have to address this eventually but I don't have time right now nor the skill to weld in patches, should I cut it out? Probably. The dash is stripped out and ready for it. Or should I just try and neutralize it somehow? I almost can't believe how rotten the vents are while the floor is still so good. Let me know your thoughts, today will hopefully have time to figure out whats up with the rear lights and install the new alternator.
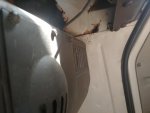
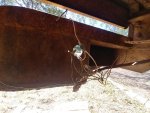
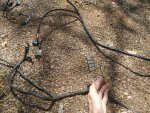
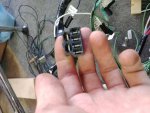
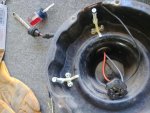
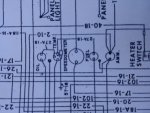
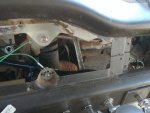
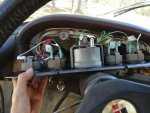
Also can anyone tell me if this is the long forgotten horn relay?
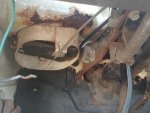
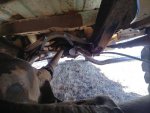
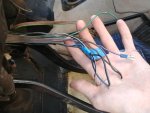
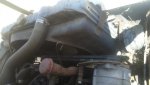
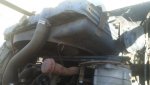
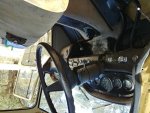
While I'm under here(suprising head room) dealing with the mess in the first two pics can anyone tell if the driveline angle is sharp enough here to warrant a double cardan? Or whatever its called... If not how to tell?
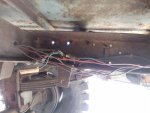
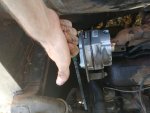
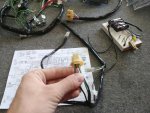
On to the next likely daft/noobish question, do I not need a voltage regulator anymore? Theres nowhere to plug in the old delco remy lol. Pic is new wire top, old bottom, that plug is gone!ps sorry to spam posts like this, I'm posting as Im finding today...

 I think the fact that its box had the thickest layer of dust on it is either a sign or an omen, but I cant tell which.
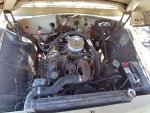

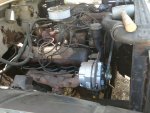
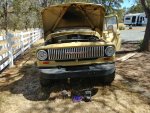
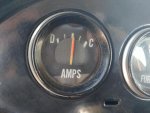
 i have a shroud from the salvage yard, thought it might improve cooling, was going to boil out the one in my parts truck and mod the shroud to mount it and contend with the 1.5-2 inch body lift. This is another thing I need to adress, it (acording to the guage) always runs cool, doesn't even make the hood hot on a hot day really. But the radiator as it sits is basically loose in there. Im open to ideas on this. Maybe a dual core aluminum? Do I need the shroud at all? I havent really given it much thought yet since its been holding coolant ok, but I think it definatly needs to be attached properly. Attached pics are of the one in the parts truck.