71mtnscout
Member
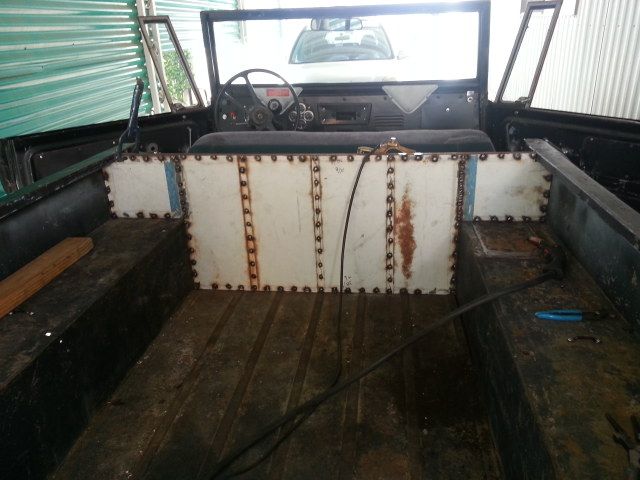
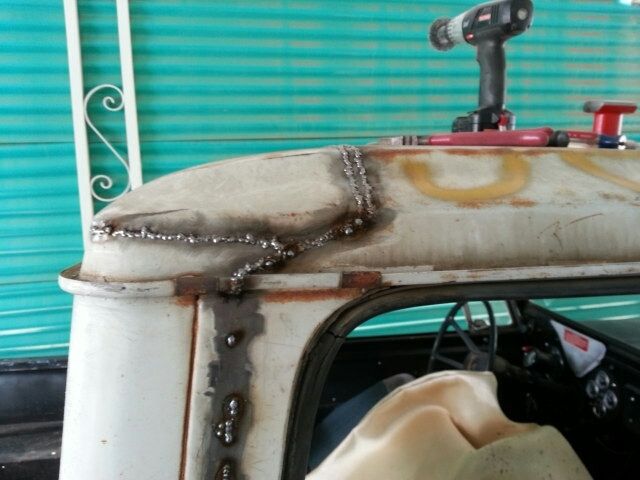
Worked on the p/u top again today, I guess I should measure 4 times and cut once.....lol. I was 3/8" short on the top of the roof so I had to improvise, I welded the piece I cut off of the front section back on. After that I cut a notch in it the 2 pieces from the bottom and sawed them out. By having to do this the 2 pieces didn't match up well, the rear section sat 1/8-3/16 below the front section of the roof, if I had cut it correctly the first time I don't think it would have been an issue. Then I had to do a relief cut to the back corners so that I could get the top edges to line up. Got most of it welded together till the wind got to heavy to weld in. I'm by no means a body man, and this will never be a show truck, but.....the top will serve its purpose by keeping me dry and somewhat warm when it needs to.
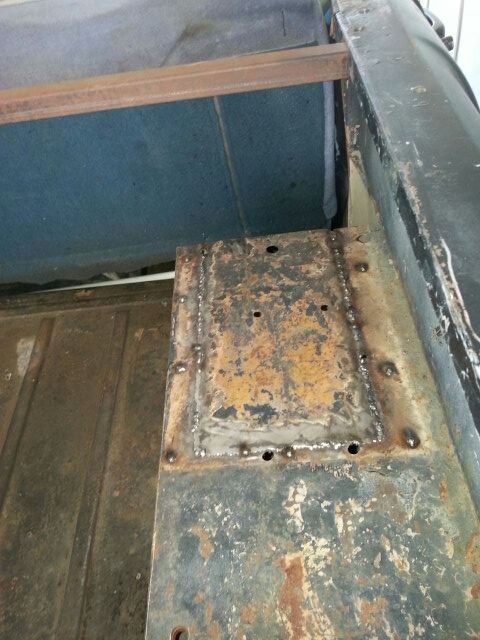
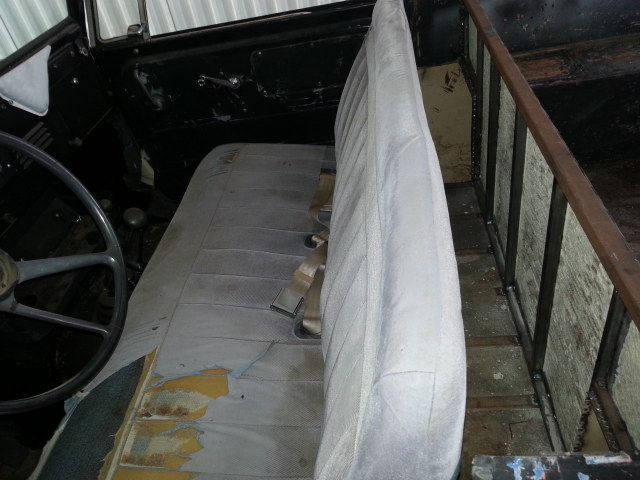
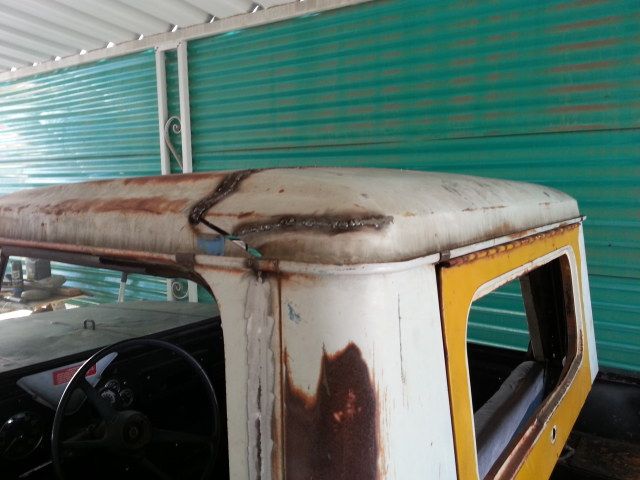
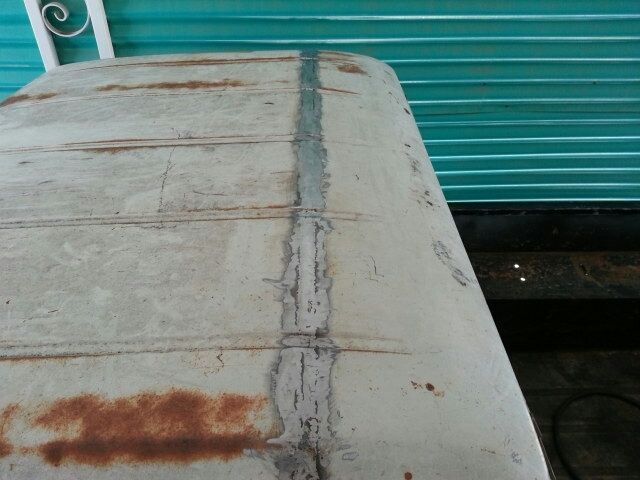
Its getting closer.
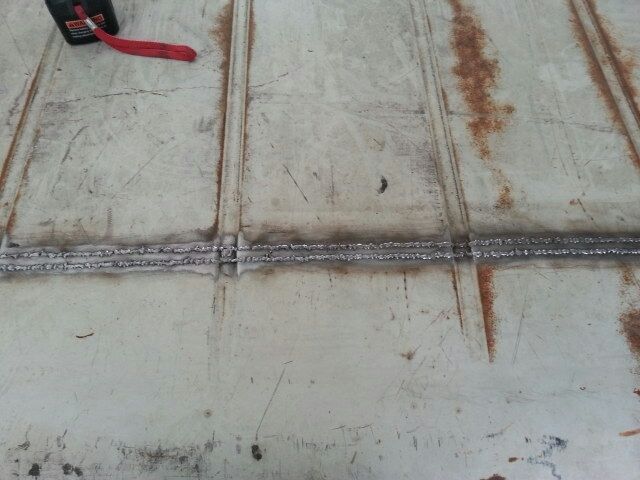
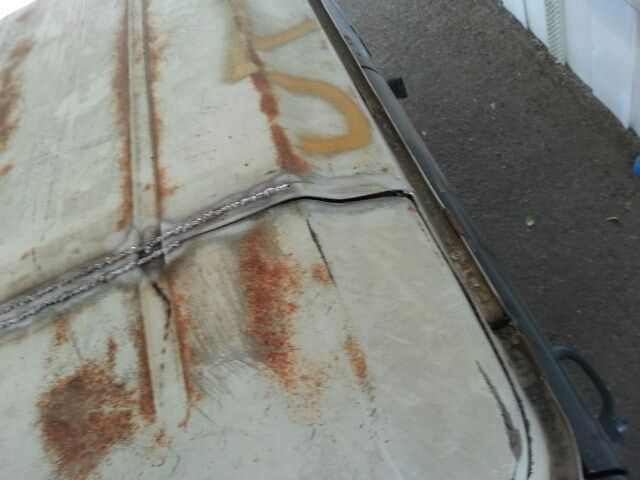
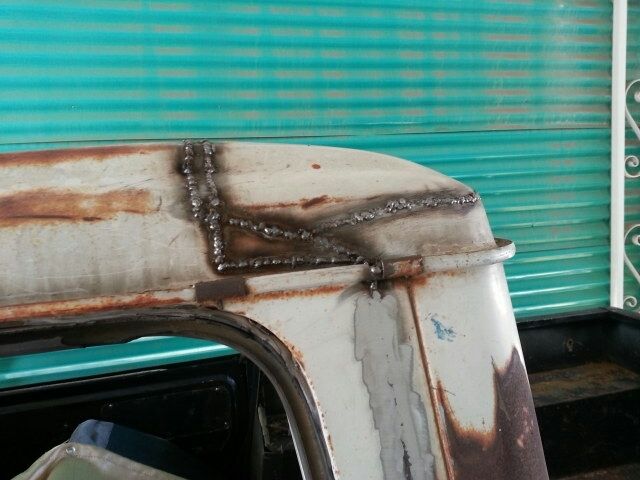
the stitching
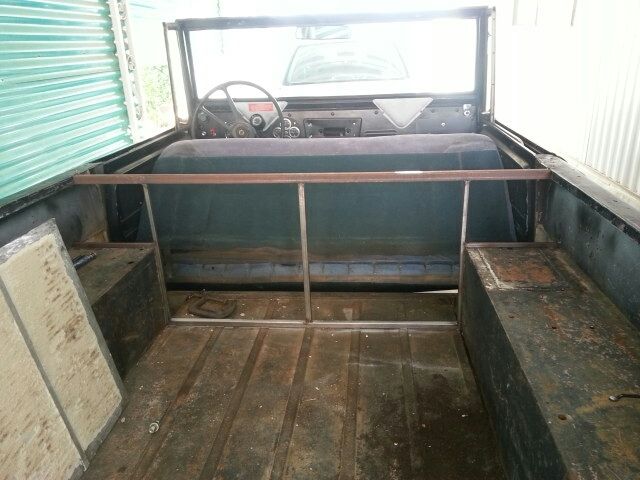
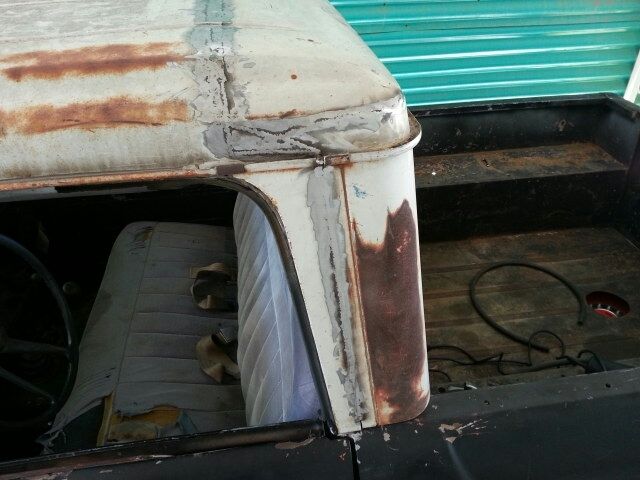
the reason for the relief cut
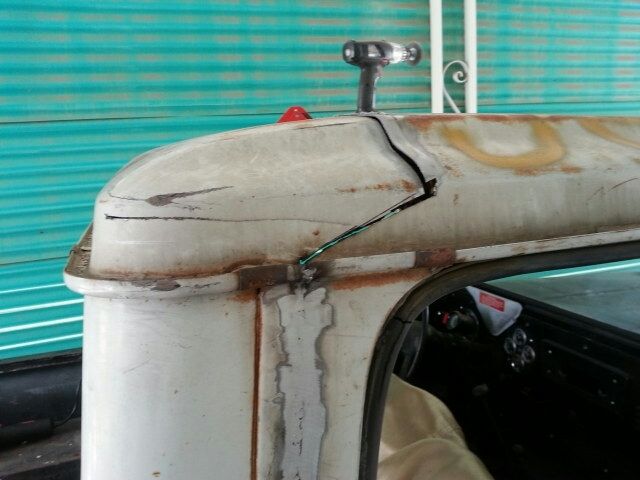
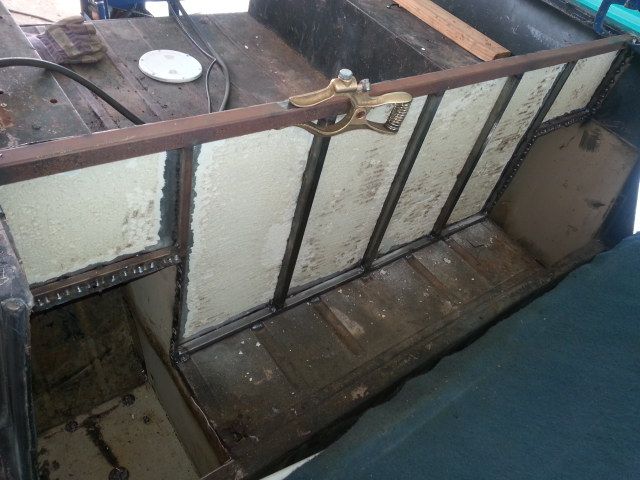
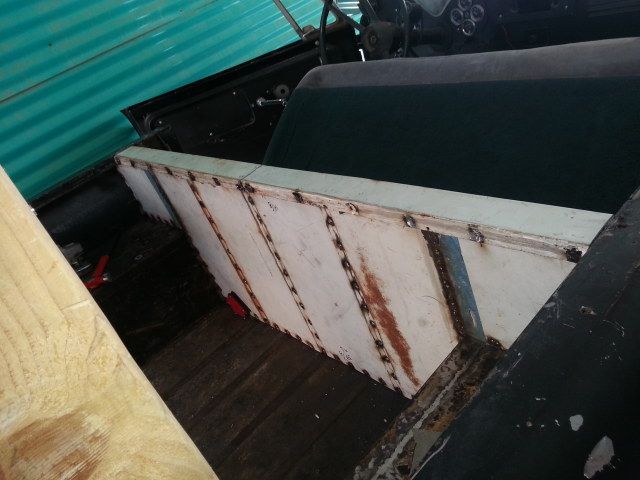
the end of the progress, called, due to wind....I miss a garage!
Its getting closer.
the stitching
the reason for the relief cut
the end of the progress, called, due to wind....I miss a garage!

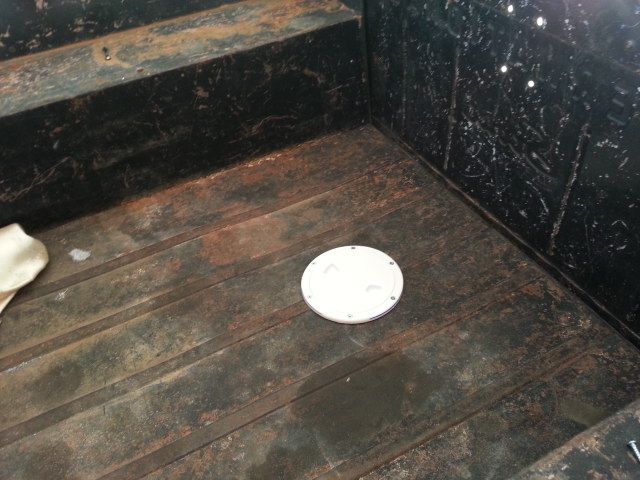


 I guess somehow I missed the update back in June. I love the top and I love the extra storage idea. I can't wait to see more progress.