Michael Mayben
IHPA Tech Moderator - Retired & No Longer Online
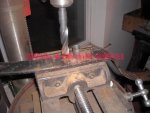
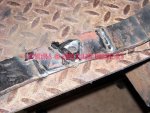
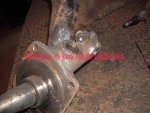
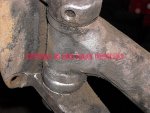
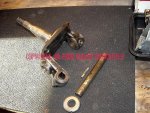
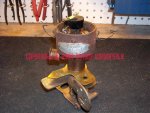
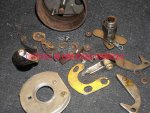
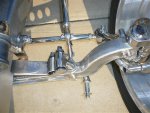
But gittin' the steering arms out was a bitch...had to rig the bigazz puller to split 'em. This one can make about 10 tons of pressure. The puller alone would not do the job...so I used the gas axe to spot heat the tapered boss while pressure was applied. Once critical mass was reached, it popped apart on it's own....repeat again on the other side.


 well lal (live and learn) or not and learn