Gunfighter97
Member
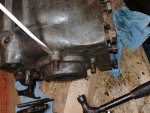
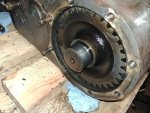
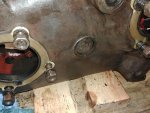
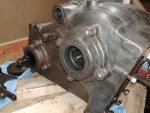
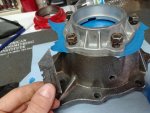
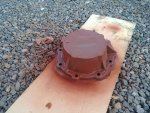
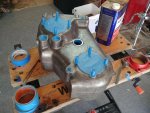
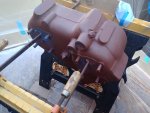
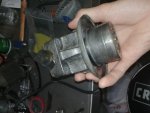
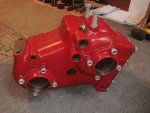
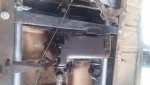
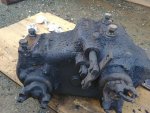
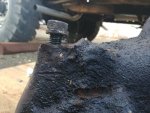
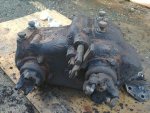
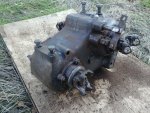
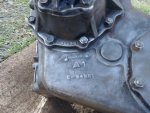
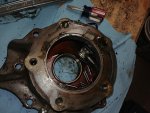
I will be doing a full rebuild on this unit, its already removed, and is factory original to the truck it was pulled from(1965 1100). Leaks like a civil servant, and possibly has bearing noise(its either the drivelines or these bearings). The first step is to ensure there actually is a transfer case somewhere encased in this glob of road grime:
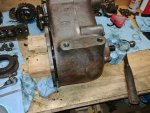
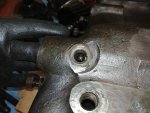
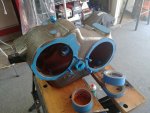
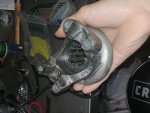
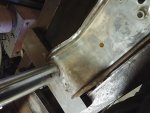
The gunk is strong in this one... Here it is after some screwdriver scrubbing:
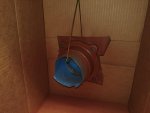
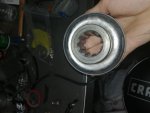
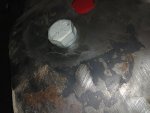
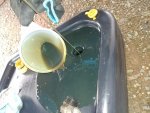
Here is the oil that came out of it, not the greatest ever, but couldve been nothing in there so I'll take it:
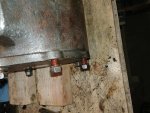
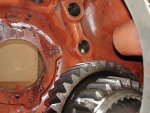
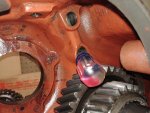
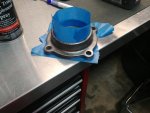
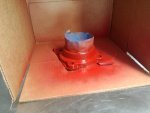
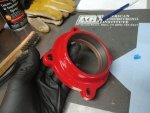
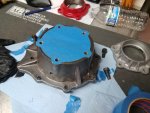
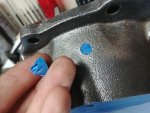
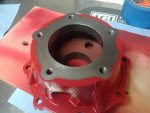
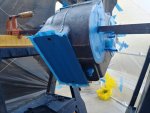
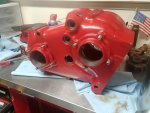
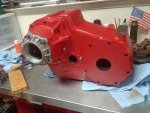
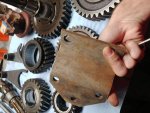
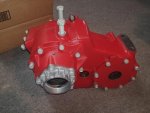
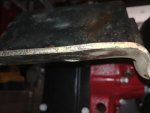
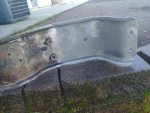
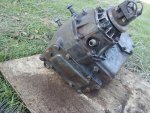
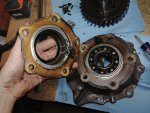
I've found evidence of both red and black paint under the grime, with some careful scratching I could tell the red was underneath the black and looks to be in a similar condition to the paint on this trucks 304 engine, so that will be the color of the new paint:
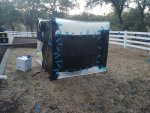
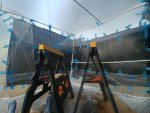
On that note, I'm a knownothing in regards to under body painting, nor do I have a spray gun, anybody out there who knows a good/cheapish DIY method feel free to educate me
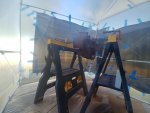
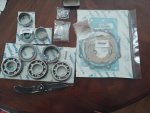
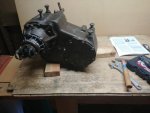
 cheapish said, I want to do it right; I dont want to skimp anything and it needs to be durable. I have a kit on the way with seals, bearings, and small parts, I will be fabricating a couple gaskets not included in the kit and will likely need to fabricate the bearing retainer gaskets in their correct thicknesses as well. Right now I'm just waiting on a muscle bound minion to help me pick this dadgum heavy thing up and get it on a bench, and the rebuild kit itself.
Edit: just for the record, the history I've been told on this truck is that it was owned by a telephone company for line maintenance, and heavy use of a pto winch. So consequently its high hours, but relatively low miles at around 45k
Attachments
Last edited:

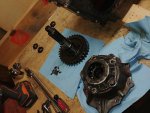
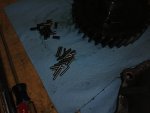
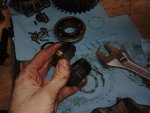


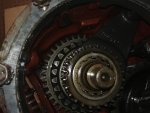

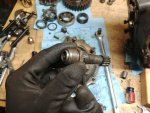
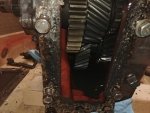
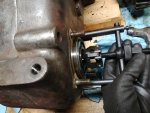
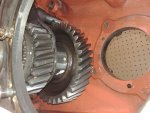
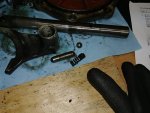
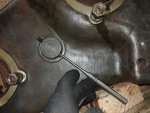
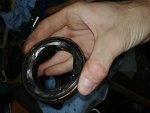
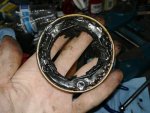
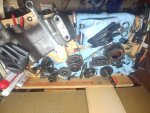
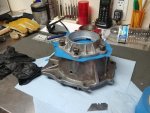
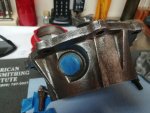
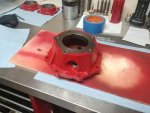
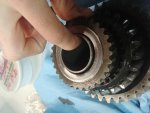
 mine didnt come out in one piece. Theres currently around 10-20 rollers submerged in the excess oil at the bottom of the case. Also my phone died while I was removing the troll pin so I will have to grab more pics for an update on these steps.
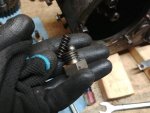
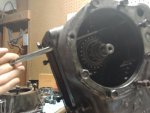
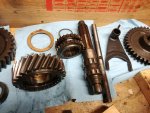
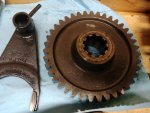
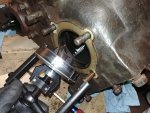
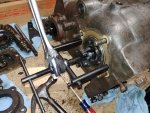
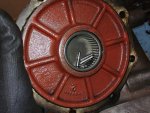
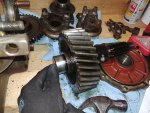
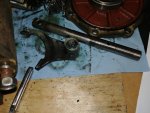
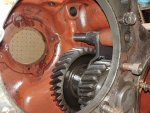
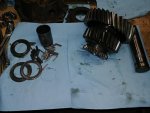
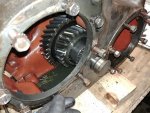
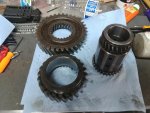
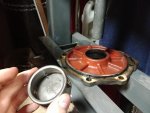
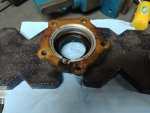
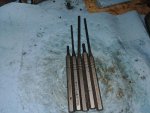
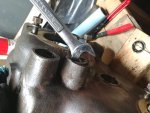
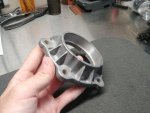
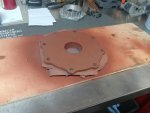
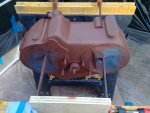
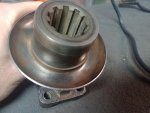
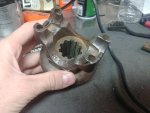
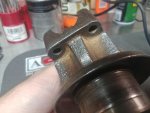
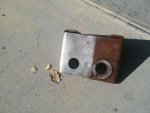
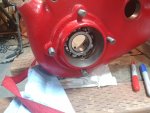
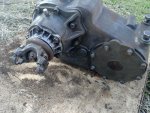
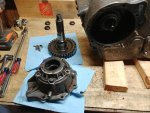
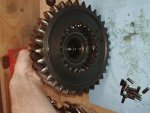
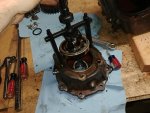
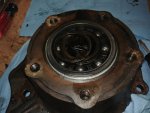
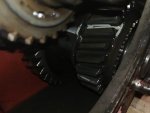
  The shaft assembly comes out through the rear output hole, and leaves the pto drive gear behind to come out through the pto port. All the remaining components simply slide off the shaft. At this point I would be removing the input bearing retainer, followed by pulling/inspecting the main bearing and seal, but I havent done that yet because I ran out of time