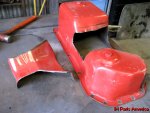
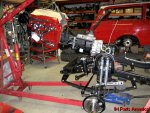
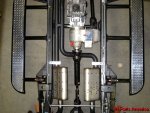
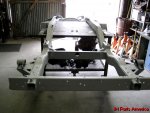
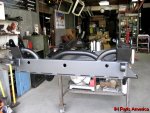
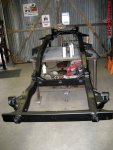
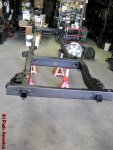
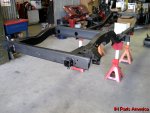
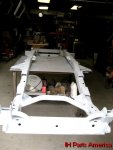
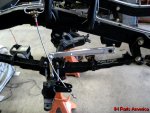
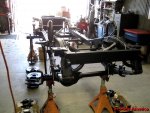
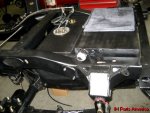
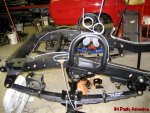
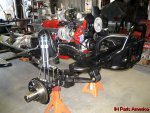
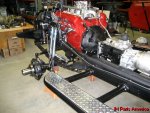
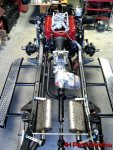
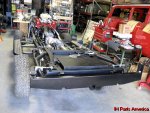
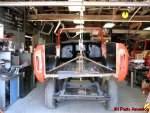
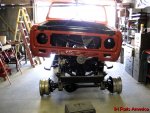
The frame was sanded, primed, and then painted semi-gloss black.


Attachments
Last edited:


man, that is some beautiful work!
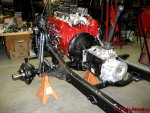
way to go Jeff, the quality is second to non. Can't wait to see it all finished. Louis is going to be one happy Scout owner. If you don't come home with multiple awards from ohio, something is seriously wrong .

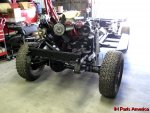
Jeff, that is some sick work. That chassis looks killer. Nice job. This is what my Scout dreams of being.
 ) towards detail is far above most out there.
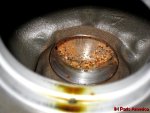
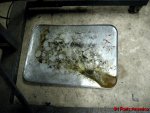
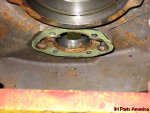
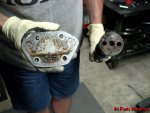
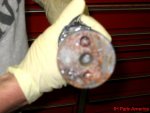
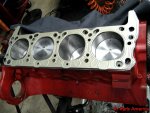
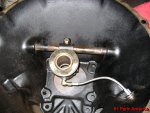
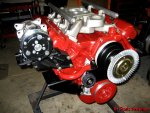
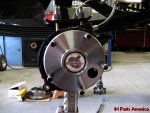
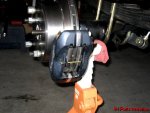
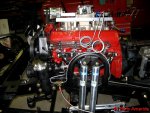
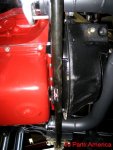
Looks like 'baby poo' in this oil pump???? Not sure who previously rebuilt this engine but I wouldn't let them touch my briggs&stratton lawn mower engine.
 .
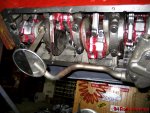
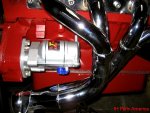
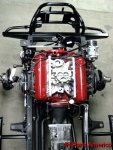
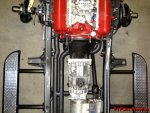
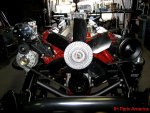
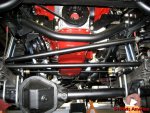
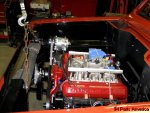
.where did you get those long spark plug wires and holders?
livewire brand performance ignition wires - IH Parts America
You will have to ask luis where he got the holders, summit probably