BrewScout

I bought my Scout II from a retired firefighter in the portland area over the summer. It was in running condition and it became a daily driver instantly. Up to that point it had only been used around his property for the last 15 years. In fact it had only had about 100 miles put on it in the last 7 years. Other than putting a new Holley 2300 (07448) carb on it, it is stock. 304, 727 trans. Has a bit of rust in a few places, and the top is pretty eaten up. When I bought it it was painted camo, so I drove it up into the forest armed with several cans of paint and a 12 pack of beer. Guess which one ran out first?

I have had it now for about 4 months. Incredibly I have put about 7,000 miles on it. It did break down on me once, the fuel pump went out.

I plan on turning it into a desert exploration rig. Going to do a SOA conversion and run 33" or 34" tires. I will fabricate front and rear bumpers, a rollcage and a roof basket.

This is what it looked liked when I first got it,
imag0386.jpg

imag0385.jpg

And this is after several cans of paint, and even more bottles of beer,
imag0389.jpg

imag0390.jpg


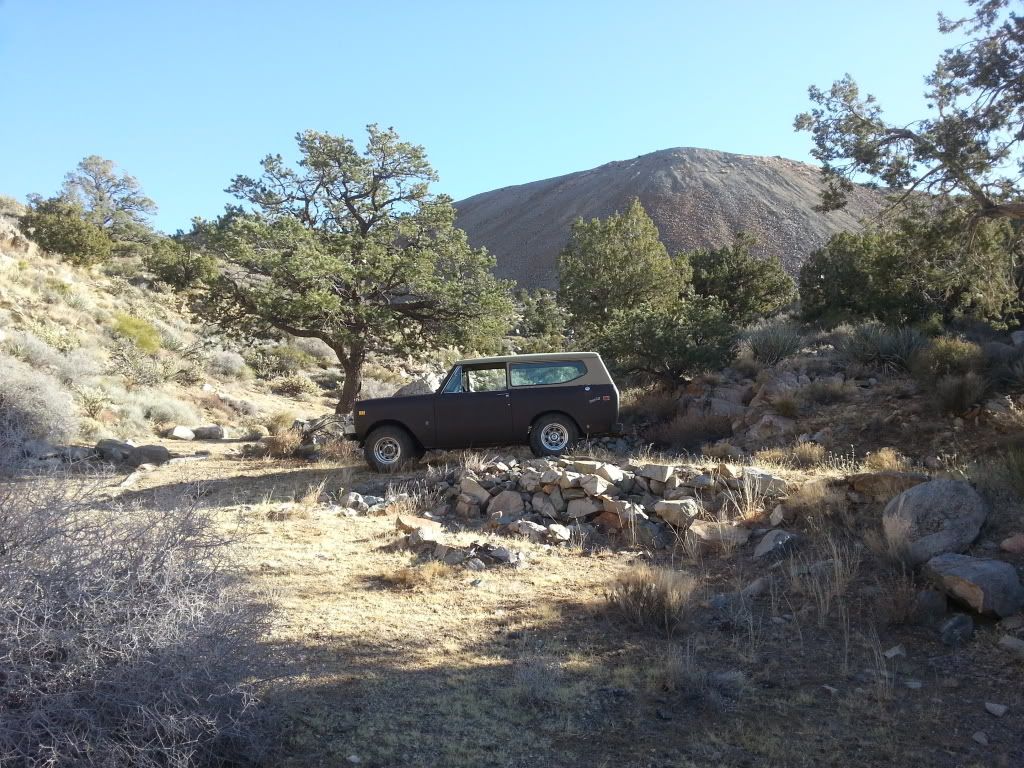
And this was just the other day when I was exploring some trails just west of primm, nv.
20121227_133825.jpg
 
Nice!!

I almost had to do a double take on the first couple photos. My 73 beast currently has a camo piant from po.
 
Opened up a can of worms. Started tearing out the wiring in order to install a new wiring harness. Ripped out the factory rubber floor liner and found most of the floor.
20140414_125144_zps3y4riwbd.jpg

20140414_125125_zpsnypxuifo.jpg


So looks like I will be cutting out the floor. And welding in new sheet metal.
 
It's not easy getting the old sheet metal out. Mark, drill, cut, drink, beer, cut more, beat with hammer, drink another beer.......repeat till done.
20140416_180119_zpsdwddfplp.jpg

20140415_183635_zpsgf9lzfjm.jpg

20140416_180102_zpsrxxknkqz.jpg
 
So I got all of the floor out that is coming out. This was not an easy task. I found that the easiest method was to locate the cross support members underneath and drill pilot holes up through the floor. Then I marked my cut lines. By cutting out the large panels between the cross supports first, it becomes much easier to peel the smaller strips off the cross supports. I used a combination of grinding through the spot welds and breaking them with a good metal chisel (not a large screwdriver).
 
So it would seem that today was not very productive, however I was able to rearrange my garage so that I would have an open area to lay out the 4x8 sheet of 16g cold rolled steel.

20140419_141439_zpsaxxdoe8n.jpg


Then after a trip to napa we (myself and my 10 year old son ollie) got to work on the Scout.

While ollie cleared out the parts laying in the back seat, I worked on prepping the pan area with a grinder for some "rust killer".
20140419_164817_zps27kj9gs1.jpg

Then ollie applied the rust killer. This is the end result.
20140419_181539_zpsmiefvoiv.jpg


20140419_181610_zpswfi0aks6.jpg


Then I moved on to laying out the drivers side replacement sheetmetal. Maybe a bit hard to see but I used a scribe to make my marks. In trying to be as accurate as possible I don't think a sharpie or paint marker is the best tool for the job. The other benefit of using a scribe is that the marks won't disappear with the heat of the grinder, plasma, or whatever your cutting tool is. I made sure that all of my lines were clearly labeled.
20140419_181223_zpsunskco7v.jpg
 
Today we cut out the driver side pan and made the necessary bends. When fitting it the Scout it is best to creep up on the fit. What I mean is trim a little bit at a time."it May be necessary to put it in and take it out several times before it fits just right", if you know what I mean! Took me about 6 times then ollie drilled all the spot weld holes.
20140420_172642_zpsaiowb7hv.jpg

20140420_174839_zpsc4c1svtv.jpg
 
Today, between showers we were able to get about 98% of the floor welded back in. There are a few corner pieces that I will fab in the morning and try to get welded in. Ollie did a great job today welding. Started him out with the spot welds, and it wasn't long and he was making the lap welds, too!
20140426_101757_zpsxgwo5bzr.jpg

End of day progress.
20140426_162307_zpszbakyzhs.jpg
 
The next step after the last 2% of the sheet metal work is done will be to apply the raptor liner. I purchased the tintable version. Picked up a quart of paint at napa to mix in the liner.
20140422_193625_zpsacj3z8ai.jpg

20140426_191728_zpskskx7eug.jpg
 
Sprayed the raptor liner in today. Started with a base coat of rust-oleum almond to even out all of the colors.
20140510_154539_zps1b9vnulb.jpg

Then after it tacked up I started laying down the liner.
20140510_165603_zpsgz9lw7qb.jpg

And after it was all done...
20140510_174458_zpsmwg0zz2w.jpg

Some close ups of the texture....
20140510_174513_zpsibozqf5b.jpg

20140510_174541_zpsu6alqbqq.jpg

20140510_174552_zpstqpjzf2b.jpg


In a perfect world I would have bought twice as much material to increase the thickness.

Plans are to paint all of the trim an od green. I think it will look good.

Your thoughts?
 
Looks good. Wasn't aware that raptor would be compatible with color. Uv protected with the mixture you used? I have personally seen the raptor applied in a 62 80. Wasn't bad. Only thing I didn't care much for, was the end result of sandpaper scrapping off skin from the knees. It does look good though with what you did. I plan on doing same thing, but using another product.

Btw, wanted to say that I think it's great to see your son getting involved and helping out. Something I wish I had going when I was his age.

Keep up the good work
cheers
 
looks good. Wasn't aware that raptor would be compatible with color. Uv protected with the mixture you used? I have personally seen the raptor applied in a 62 80. Wasn't bad. Only thing I didn't care much for, was the end result of sandpaper scrapping off skin from the knees. It does look good though with what you did. I plan on doing same thing, but using another product.

Btw, wanted to say that I think it's great to see your son getting involved and helping out. Something I wish I had going when I was his age.

Keep up the good work
cheers
Thanks skooter. Yeah with the raptor you have a choice to get the tintable kit. I got the base coat from napa. I do believe it is uv resistant.

It is important to me to teach ollie a trade. As a welder by trade I have been able to provide for my family. Ollie has a dream of going to wyotech to learn how to build custom classics.

Thanks for the compliments!
 
Today I started putting things back together. I am going to try to refurbish the parts as I go. I didnt get a pic but I also installed some sound mat in the doors from fatmat. It is the rattletrap stuff.
20140511_191630_zpsxqpgq92g.jpg

You can see the new tilt steering column. I will need to weld a couple nuts to it for the mounting.

Also I got a set of these mid 80s camaro seats on cl for $50.
Took two cans but they look a lot better.
20140511_195509_zpswu7zapez.jpg

20140511_195521_zps2lojgpis.jpg
 
Hey nice build, looks a lot like the same path I did on my Scout. Hit me up some time im heading to nv for a week of exploring. Good luck on your build.
 
So the steering column is in. Just had to tig weld some nuts to the shaft so that I could use the stock mounting bracket. The steering wheel doesn't fit right. Still using the adapter for the stock Scout column. Will figure it out later.
20140523_191850_zpset8nwfpe.jpg
 
Spent the rest of the evening cleaning up my mess so I could switch gears to the wiring. Here is the kit I purchased from speedway. The kit comes with a new headlight switch, and dimmer switch. The headlight switch is basically a mid 70s Chevy switch (just a lot cheaper if you by separate than the "International" one).
20140523_192015_zpsdaueljsy.jpg
 
Back
Top