

Michael Mayben
IHPA Tech Moderator - Retired & No Longer Online
Now that the sumbitch seems to be somewhat reliable (gotta freshly rebuilt starter and alternator in the spares box from js supply in u-jerzee, high end stuff, not chinee), an attempt was made to make some cold air before kathy comes home to start drivin' the pile for a few weeks.
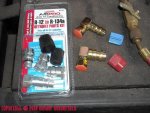
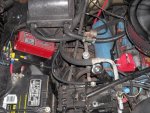
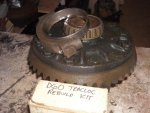
Had a hard time locally locating the correct retrofit adapters for the r-134a conversion, I'd used up all the prototype/oddballs I had over the last 10 years of doing other folks stuff. Finally located a pair of the atco items I was looking for, very high end and steel. These are 90* swivel fittings for use in tight clearance locations, exactly the situation on the IH systems that use manual service valves.
The crap package on the left is the typical retrofit kit seen in most parts houses, those are primarily for GM applications and ain't worth shit in my book for anything.
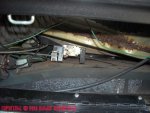

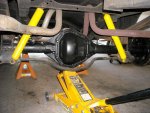
 that's what I did when I lost spacer(s) not keeping on top of keeping the shock bolts tight...