Monte Lauer
Active member
Nice seminar! How many credits do I get for attending?


thats about the best "webinar" I've ever attended.
I gather the innards of this beast are good for another 200k?
nice seminar! How many credits do I get for attending?
sumbitch wuz beooteeful inside t! Except for the maladjusted bands. Whoever did that in the past used the specs for a much later version like a 46rh or sumthin', this one is just a plain old tf 727...no lockup torque converter system and notta od version.
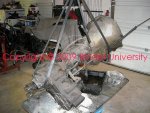
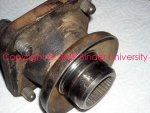
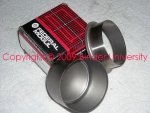
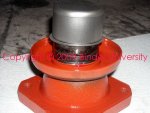
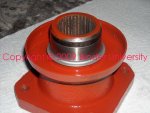
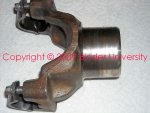
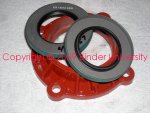
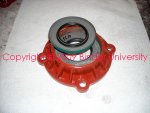
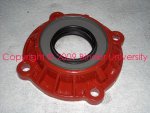
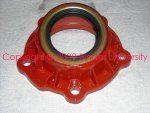
Today the output shaft seals come out of the np 205 for yoke inspection and seal replacement. Dave sez the seals on those cases are problematic, he's gotta "fix" for that using a different seal system but we gotta know "which" size/bore the seal counterbore is for yore tc, he sez there are at least two variations.
The electrics have been stripped out and I've rigged a sealing cap for the speedo drive. But...I'm not sure if ya need the speed sensor for that injection control or not...isn't it a full mechanical injection setup on yore motor? No speed sensor needed???
Once all the dirty work is done, it's gonna git hung back on the hook and powerwashed so at least it don't stink likka diesel! But no paint per yore instructions!
yep, pure mechanical injection! No electrics required to run, sept for the one wire to the fuel shut off. I had it running without the trans attached, in order to get some marvel oil into the injectors to preserve them!
Diesel stink? Thats pure perfume, buddy!
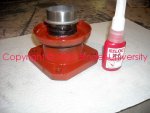
oookaay...consider the speedo drive to be sealed semi-permanent!
so I don't need to make some ultra trick bearings for this thing?
only if we gut out the entire tranny for a build-up!
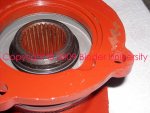
But...if ya kin git to work on all them plastic tapered rollers and loose rollers in that 205, we'll dam shore do one!