kjc-01
Member
Now that michael has helped me get my carburetor in tip-top shape and the ignition system has received the once-over, I'm ready to chase down the rest of the maintenance items I've been ignoring for the last eight years. It's a 1970 1200d 4x4 3/4 ton pickup with a 345 engine, stan's headers, pertronix ignitor, 33" BFG a/ts, 4-speed manual trans w/ 125k miles. Otherwise stock. Used to be my daily driver/camping rig, now it sits in the garage dripping oil and waiting until I need to haul something. My biggest pet peeve is it leaks oil everywhere, so I want to go after the high leak reduction-to-effort ratio solutions first. I figure the valve cover gaskets are an easy place to start and it is the highest place I see oil on the engine- I have a set of the rubber ones from outback parts to replace the cork ones that are on there now. Aside from good cleaning and making sure the sheet metal is flat, any hard-learned recommendations? Put 'em on dry, use a tack adhesive, torque levels, etc.?
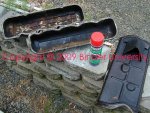
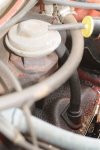
I'm a bit intimidated by the valley pan/intake gasket job...how much does an intake manifold weigh? The rear main seal likely needs replacing - again, last time the mechanic said the shaft was grooved and would waste the new seal in short order. Anybody tried the bond-on shaft re-surfacing shim/collar bit? I need to replace the exhaust manifold gaskets, too but I recall that being fairly easy (but I am 10 years older now!). The coolant is going to get changed out, I'm considering flushing it, too. While talking cooling, how long does a stock water pump last? I've been thinking of buying one just to be ready for when it does give up the ghost. And brakes...definitely need to inspect the brakes.
So, what are some of the key maintenance tasks that I have been ignoring on this vehicle that should be undertaken before I get sidetracked by the next project?
Now let the suggestions begin!