Rentalman
Active member
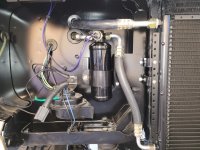
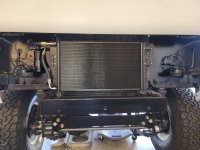
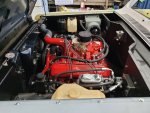
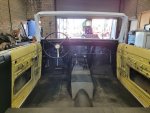
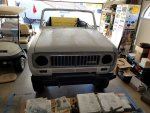
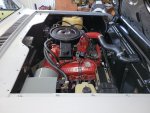
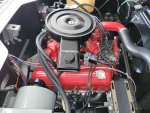
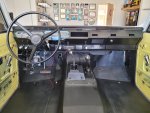
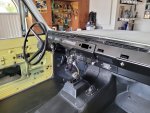
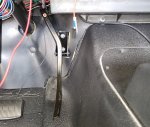
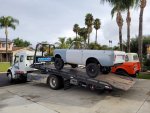
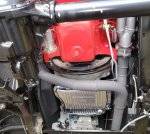
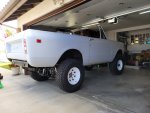
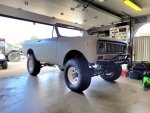
The things you learn during re-assembly. I should have mounted the radiator, inner fender/splash guards and the hood support together. It was a chore to get the radiator installed. I had to loosen the front body mount bolts and some of the fender bolts to gain some movement while a mechanic used a pry bar. Radiator and fan shroud are installed. For those of you who may be following this project and are attempting a build pay very close attention to sequence. Part of my problem is I've been rushing this project along on Fridays, the only day I have to work on it to get it home while taking care of customers needs at the same time. My previous owners just sold the business and the new corporate owner for a short time will allow me to get it to a point where I can trailer it out of there.

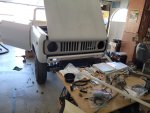
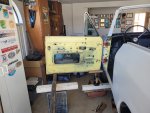

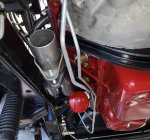

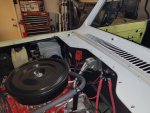

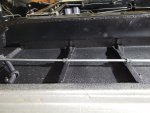
![20231001_161449[1].jpg](/data/attachments/32/32944-36f6a4bca181a9216f389dd8772a071b.jpg)