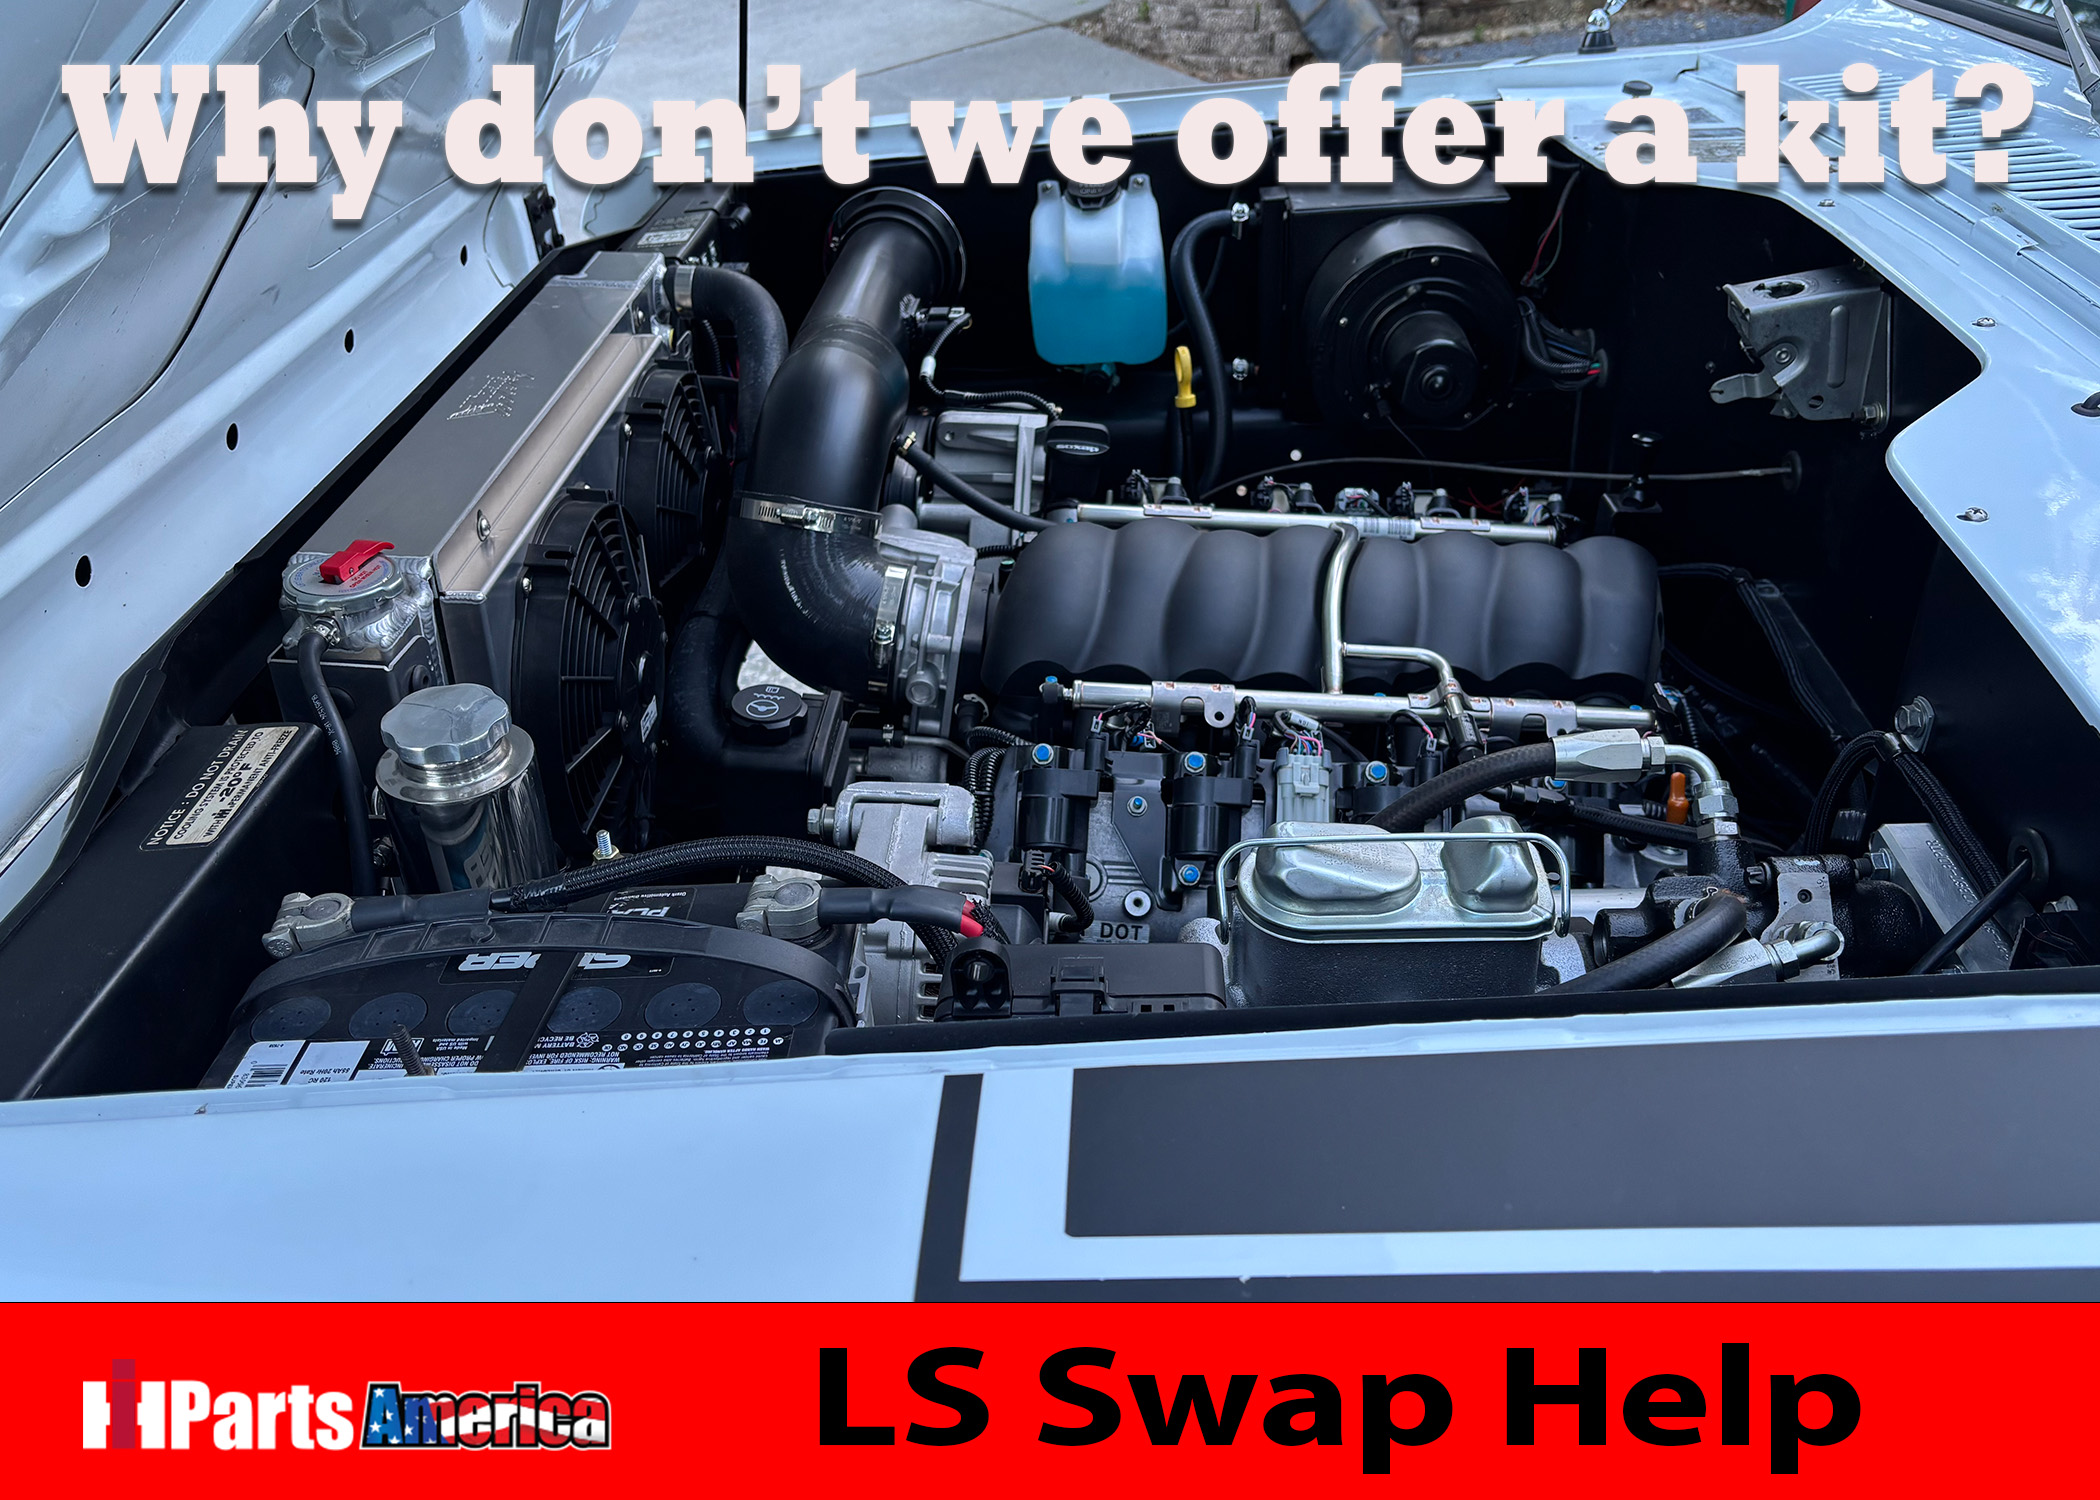
Why Doesn't IH Parts America Sell an "LS Swap Kit"

Status
Not open for further replies.

Zaedster

Future Owner of IH Parts America
Staff member
One of the most common questions we get here at IH Parts America is whether we offer an LS swap kit for Scouts. The short answer? No, we don't. But there's a good reason for that. While we don't offer a complete bolt in kit, we can explain why we've chosen not to and how we can still help you get the right parts for your LS swap through us.

Yes, we know we have direct competition with other venders selling a "kit."

Let me give you an example:

Think of it this way. You're building your dream Scout, and you've decided to drop an LS engine under the hood. Now imagine buying a complete swap kit that forces you to use a certain set of parts, mount everything in a specific location, and build your Scout around what comes in the box. But what if you want to run a different transmission? A different transfer case? Maybe you have a certain way you want your exhaust routed or your engine positioned.

That's exactly why we don't offer a one size fits all LS swap kit. No two Scout builds are exactly alike, and we don't believe you should have to build yours around someone else's idea of what works best. Instead, we'd rather help you pick the right parts for your particular build, giving you the freedom to put things together the way you want.

Guidance is always great, which is why this thread is starting. We have over 15 years experience in LS swapping, and quite honestly I believe we produce the best driving Scouts out there. With this guidance, you should be on the right track to set up your Scout to be reliable and powerful.
LSSWAP1.jpg
 
Before you start buying parts, the first thing you need to figure out is what you're actually working with. Is it a Scout 80, Scout 800, Scout II, or an IH pickup or Travelall?

You might think an LS swap is pretty much the same regardless of what you're putting it into, but that's far from the case. Each of these vehicles has its own challenges when it comes to engine placement, available space, drivetrain options, and everything else that goes into making the conversion work.

When you add 4x or more of the original power to your IH, everything down the chain needs to be strengthened to accommodate the increase of HP. Unless you have a really good life-insurance policy and don't care, you might want to put just as much attention to the rest of your build to make sure you aren't building a death-trap.

Knowing what you're starting with will play a huge role in how you plan your build and which parts you'll need along the way.

To give you a better idea of what to expect, let's go over a few of the most common IH vehicles we get asked about.

LSSWAP2.jpg


Let's start with the 1961 to 1965 Scout 80, the OG of the Scout family.

Most Scout 80s rolled off the assembly line with the IH 152 four cylinder engine, putting out less than 100 horsepower. Behind that was typically a T90 three speed transmission, with the T18 four speed being another option. Transfer cases came in two flavors, the Dana 18 and Dana 20, with the Dana 20 featuring a centered rear output.

Up front, you had a Dana 27 axle with manual steering, while the rear was either a Dana 27 or Dana 44 with two piece axle shafts.

Now, here's where things get interesting. All of this worked just fine when you had a little four cylinder putting around town or crawling down a trail. But throw an LS engine into the mix, and suddenly you're dealing with a whole different animal.

You're going from an engine that barely cracked 100 horsepower to something that could easily produce three or four times that amount. Those original drivetrain components were never designed to handle that kind of power, and simply dropping an LS between the frame rails doesn't magically make everything behind it stronger.

The firewalls need to be clearanced, the frame core support needs to be moved forward to accommodate the larger V8 engine.

This is exactly why we encourage people to look at the entire vehicle before jumping into an engine swap. The engine itself is only one piece of the puzzle, and on a Scout 80, there's a good chance you'll be rethinking just about everything else that connects to it.

I would consider the Scout 80 to be the hardest to swap over, as most if not all of the original drivetrain is useless upon increase of HP. Stock Scout 80's blow-up rear ends on the daily to begin with. Unless you are a soft-footed grandma heading over to Sunday morning church service, even considering figuring out how to utilize any of these archaic pieces is tomfoolery.
 
Last edited:
When it comes to a four cylinder Scout 80 or 800, the frame is your first major hurdle.

If you've ever popped the hood on one of these early Scouts, you might have noticed the huge amount of empty space between the radiator and the grille. There's actually a reason for that, and it's something you'll quickly discover when trying to squeeze a V8 under the hood.

From the factory, these Scouts have a welded frame crossmember positioned farther back to accommodate the original four cylinder engine. While that worked perfectly fine for the factory setup, it becomes a major obstacle when trying to fit a much longer V8 engine into the same space.

This is where an LS swap starts becoming more than just a matter of bolting in a new engine. You're now looking at making modifications to the frame itself before you can even begin figuring out where everything else is going to fit.


LSSWAP4.jpg

LSSWAP6.jpg


...compared to a later V8 Scout 800 frame...

LSSWAP5.jpg


As you can see, the front crossmember sits much farther forward compared to the factory four cylinder frame. There's a good reason for that. If you don't relocate that crossmember, you'll quickly run out of room trying to fit an LS engine under the hood. In fact, by the time you get everything positioned, you might find yourself with half the engine sitting inside the cab.


Now, remember that domino effect I mentioned earlier? Well, here's a perfect example of it. This is also one of the reasons why starting with a factory V8 Scout can save you a whole lot of work right out of the gate. On the four cylinder Scouts, the steering box is mounted on the inside of the frame. Once you start moving things around to make room for that LS engine, including relocating the radiator core support forward, the factory steering setup becomes another obstacle. You'll need to move the steering box to the outside of the frame, just like the factory V8 Scouts.
Fortunately, this is one area where IH Parts America can help. We offer a power steering conversion kit designed for factory V8 frames or four cylinder frames that have been modified for a V8.

Part Number: CPT-S800-AB-PSKIT-LS

We put this particular kit together with the LS swap in mind while modifying our V8 IH kit. Since you'll already have a GM power steering pump on your engine, we've left out the IH specific engine components you won't need. This gives you a much better steering setup to work with without buying a bunch of unnecessary parts. We'll get into more of the parts IH Parts America offers for these conversions a little later. For now, we're still working our way through what it actually takes to get an LS engine into one of these early Scouts. And as you can probably tell, we're just getting started.
 

Attachments

  • LSSWAP4.jpg
    LSSWAP4.jpg
    853.5 KB · Views: 1
We haven't gotten into the Scout 800 just yet, but here's a good example of what we've been talking about. Take a look at the difference in available engine bay space once the radiator core support has been moved forward. It's a pretty significant difference, and you can see why this modification is so important when trying to fit a V8 under the hood. Obviously, a lot of metal fab is needed to be done on a Scout 80 to accommodate the rest of the core support move, including the side pieces to the inner-fender...etc

LSSWAP7.jpg


And before all you stained tighty whities wearing purists get your underwear in a bunch, no, this Scout isn't getting an LS swap. We're just using it to show how much extra room you gain under the hood simply by moving that core support forward.
 
Next up is the 1966 to 1971 Scout 800, including the 800A and 800B models. Sorry if this all sounds redundant - worded for the novice.

This is where things start getting a little more interesting. Unlike the earlier Scout 80, the Scout 800 was offered with several engine options throughout its production run. These included the IH 196 four cylinder, IH 266 V8, IH 304 V8, and the AMC 232 inline six.

Here's where knowing what engine your Scout originally came with makes a big difference. The 266 V8, 304 V8, and AMC 232 inline six all shared the same firewall and radiator core support configuration. This means that if you're starting with one of these models, you've already got a head start when it comes to fitting an LS engine under the hood.

If you're starting with a four cylinder Scout 800, however, you're going to run into many of the same obstacles we just covered with the Scout 80.

LSSWAP8.jpg


Now that we've covered the engines, let's take a look at what IH put behind them.

The T90 three speed transmission was still hanging around, with the T18 four speed available as an option. Some of the more deluxe models even came equipped with a Borg Warner FMX three speed automatic, paired with a Dana 20 transfer case. Moving down to the axles, things started changing quite a bit throughout the Scout 800 production years. The Dana 30 was used up front, with V8 models receiving a closed knuckle Dana 30. Out back, the Dana 44 was the most common axle, although a few Dana 27s were still scattered into the mix. One important detail worth paying attention to is the rear axle shaft design. Up until 1969, Scouts were still using the older two piece axle shafts. Starting in 1969, the Scout 800A and later 800B received single piece axle shafts along with standard SET10 non preload axle bearings.

Why does any of this matter for an LS swap? Because not all Dana 44s are created equal. Those later 1969 to 1971 rear axles are a much better starting point than the earlier two piece designs, thanks to the improvements IH made over the years.

Does that mean they're automatically ready to handle whatever LS engine you throw at them? Not necessarily. But if you're trying to figure out what you can keep and what should probably go, knowing which axle is under your Scout can save you some headaches and money down the road.

LSSWAP9.jpg


Unless you're keeping your Scout completely stock and only driving it around town or taking it to the occasional parade, I wouldn't trust these axles, especially the Dana 27.

Here's where the design really starts to show its age. The early two piece Dana axles use tapered bearings that are essentially backwards compared to the later axle designs. When you take a corner and put a side load on the axle, the bearings actually want to separate from the taper rather than stay seated against it. Not exactly something you want happening when you're putting more horsepower to the ground.

To make matters worse, the axle shafts themselves are obsolete and rely on each other for thrust. There's a thrust pin inside the carrier, and bearing preload is adjusted using shims behind one of the axle retainer plates. It's an outdated setup that leaves a lot to be desired, especially when you start introducing the power of an LS engine.

And while we're on the subject, I have a bone to pick with vendors selling disc brake conversion kits for these early axles. Because of the way these axles handle side loads and axle shaft movement, the brake rotor can actually shift its position in relation to the caliper when you're cornering. This can cause uneven pressure, poor rotor centering within the caliper, and a whole list of potential problems down the road. We hear lots of complaints of this issue. That is why we do not advertise our kit for use with two-piece axles.

There is zero ring/pinion availability for Dana 27's. Early Dana 44's are limited to the OE Power Lock and open differential, and Limited support for the Dana 30. We like to retain Scout II axles or our CPT Rear Ford 9" Assembly.

LSSWAP10.jpg


Just because someone makes a disc brake kit for an axle doesn't mean that axle suddenly becomes a good choice for a modern drivetrain.
 
Last edited:
When swapping Scout II axles under an early Scout, one thing you'll notice right away is the difference in width. A Scout II axle measures 58.5 inches from wheel mounting surface to wheel mounting surface, commonly referred to as WMS.

For comparison, a Scout 80 measures around 55 inches, while a Scout 800 comes in at 57 inches. That means even compared to the wider Scout 800, you're only gaining 1.5 inches of overall axle width with the Scout II setup.

That little bit of extra width is actually a good thing. It gives the Scout a slightly wider stance, which can help improve stability and handling, especially when you're adding more horsepower and building something you actually plan on driving.

Now, while you could run Scout II Dana 44 axles front and rear, that's not typically how we like to do things here at IH Parts America.

Our preferred setup is to use a Scout II Dana 44 up front and pair it with one of our CPT Ford 9 inch rear axles. This gives you a much better foundation to build from, especially if you're planning on putting some real power to the ground.

After all, if you're already going through the trouble of swapping axles, you might as well put something under there that's worth the effort.
LSSWAP11.jpg


Here's a good example of what we're talking about with a current build in our shop. We've installed a CPT'ified Dana 44 front axle out of a Scout II, complete with factory disc brakes.

We also performed a cut and turn on the axle to maintain 4-5 degrees of positive caster. This is an important detail that often gets overlooked when swapping axles, especially on these early Scouts. Getting the caster angle right makes a big difference in how the Scout steers, tracks down the road, and returns to center after making a turn.

After all, there's no point in upgrading everything underneath your Scout if it ends up wandering all over the road when you're trying to drive it.

When we do these cut-and-turns, we go ahead and chop off the front axle C's. If you don't want to reuse your old ones, or ruined them - we have new ones. Axle C Set for Dana 44

LSSWAP12.jpg
 

Attachments

  • LSSWAP12.jpg
    LSSWAP12.jpg
    745.2 KB · Views: 1
When installing a Dana 44 out of a Scout II under your early Scout, there's another thing to consider: leaf spring width. The factory Scout 80 and 800 springs are 1.75 inches wide, while the Scout II uses a wider 2 inch spring.

This is the perfect opportunity to kill two birds with one stone. Since you're already making changes to the front suspension, we highly recommend installing our CPT Reverse Shackle Kit for the Scout 80 and 800.

Not only does this give you the benefits of a reverse shackle setup, but it also allows you to run the wider 2 inch Scout II leaf springs. You can certainly stick with the original 1.75 inch springs if you'd like, but our thinking is pretty simple. If you're already going this far with your build, why not upgrade the springs while you're at it?

On the Scout pictured here, we're running a set of Skyjacker 2 inch lift leaf springs designed for the Scout II. It's a great example of how a few well planned upgrades can work together rather than trying to make a bunch of original parts work around your new drivetrain.

LSSWAP13.jpg
 
Now that you've got your Dana 44 mounted under your Scout, there's one more thing to figure out. How are you going to steer it?

With the new axle in place, you'll need a tie rod and drag link to get everything connected and working properly. Fortunately, this is another area where we've already done the homework for you.

CPT offers a direct fit steering linkage setup that takes the guesswork out of this part of the conversion. No need to piece together a bunch of mismatched steering components when we've already got a solution ready to go. We use a 46" long tube with modern ES150 replaceable ends. The draglink also uses the same ends. - Tierod and Draglink Assembly for the Scout 80 or 800 with Dana 44 Option.

LSSWAP14.jpg


Now, when it comes to the steering box itself, that's where we leave the decision up to you. There are several ways to go about it, and how you choose to set yours up will depend on the direction you're taking your build.

One thing we definitely don't recommend is sticking with the factory manual steering box. Sure, you could make it work, but with the increased horsepower and performance of an LS engine, that old manual box is going to leave a lot to be desired. The steering ratio is simply too slow for the kind of driving you're likely building this Scout for.

If you're going through all the trouble of upgrading the engine, axles, and suspension, it only makes sense to give the steering some attention too. After all, going fast is one thing, but being able to comfortably control where you're going is just as important.

CPT does have a bare-bones steering box kit as mentioned earlier: Part Number: CPT-S800-AB-PSKIT-LS if you would like to copy what is seen on the picture. Major fabrication skills and competence is needed throughout the build process.

LSSWAP15.jpg


As seen, the steering kit ties into this steering box quite well. The pitman arm used is IHPA part number: PM-18006-03 known as Pitman Arm #3.
 
Status
Not open for further replies.
Back
Top