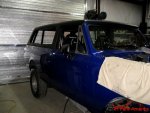
The front bumper got a quick sanding and a fresh coat of paint.

Hard top #1 was brought in and set in place.

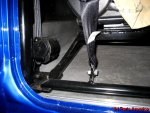
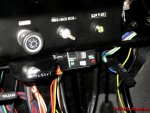
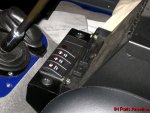
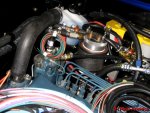
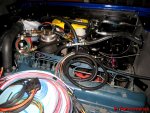
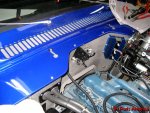
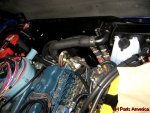
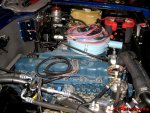
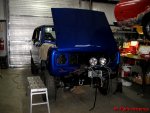
Wiring and plumbing of the various components has been on going.


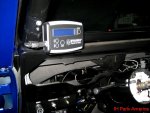
As you can see it is a very busy engine compartment.


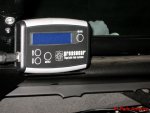
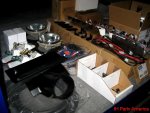
Many of the components to be installed are pre-assembled before installation is performed.

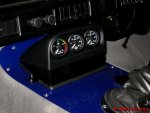
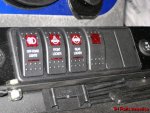
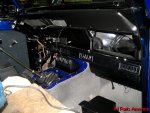
The AMA air conditioning system was installed under the dash.

Hard top #1 was brought in and set in place.
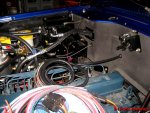
Wiring and plumbing of the various components has been on going.
As you can see it is a very busy engine compartment.
Many of the components to be installed are pre-assembled before installation is performed.
The AMA air conditioning system was installed under the dash.
Attachments
-
 006.JPG112.2 KB · Views: 4,304
 -
 016.JPG121.9 KB · Views: 4,539
 -
 013.JPG109.3 KB · Views: 4,240
 -
 012.JPG131.7 KB · Views: 4,238
 -
 011.JPG142.1 KB · Views: 4,247
 -
 010.JPG144.7 KB · Views: 4,261
 -
 009.JPG151 KB · Views: 4,296
 -
 008.JPG125.1 KB · Views: 4,247
 -
 007.JPG148 KB · Views: 4,309
 -
 005.JPG121.4 KB · Views: 4,298
Last edited: