Rentalman
Active member
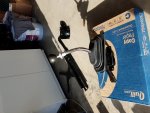
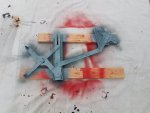
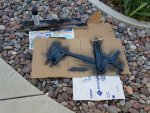
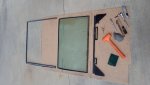
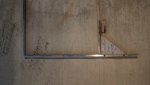
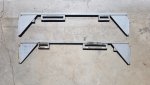
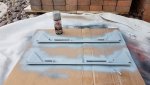
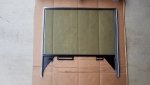
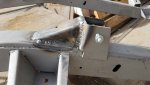
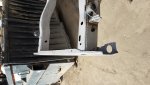
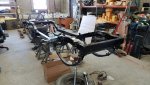
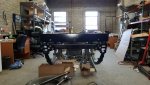
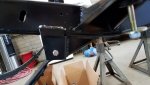
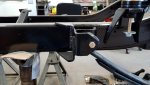
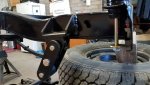
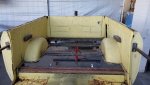
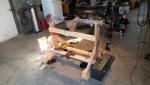
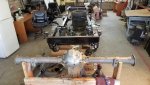
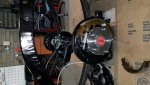
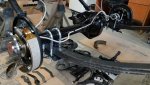
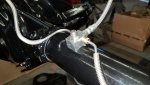
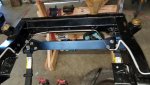
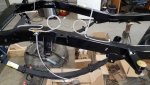
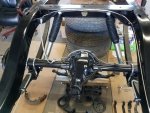
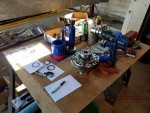
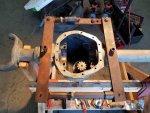
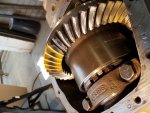
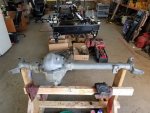
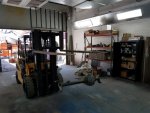
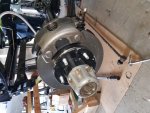
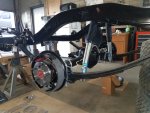
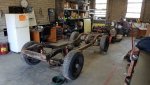
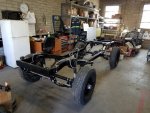
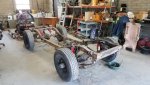
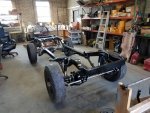
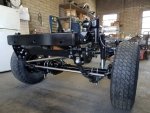
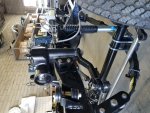
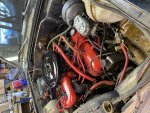
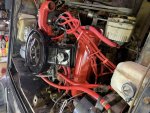
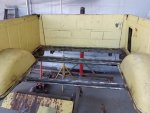
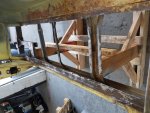
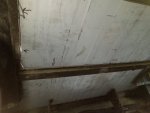
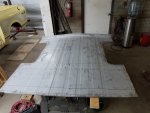
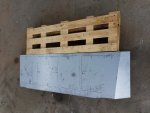
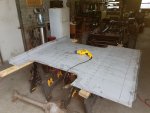
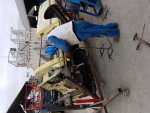
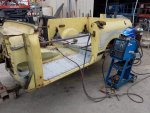
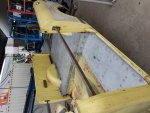
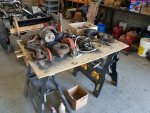
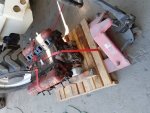
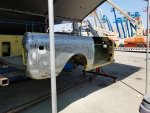
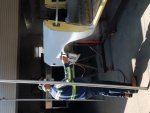
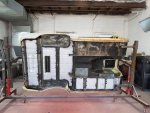
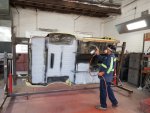
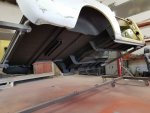
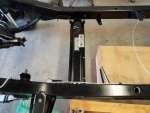
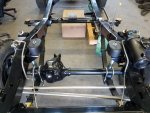
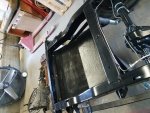
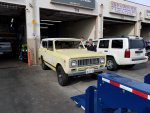
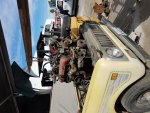
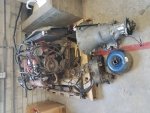
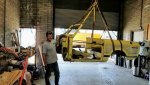
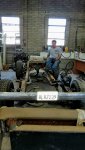
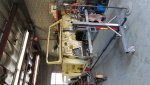
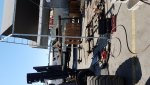
I thought I would share my blood sweat & tears on the rebuild/restore progress of my 74 Scout II. I bought this non-running Scout II to do an LS project last December. I don't have the means to work on it at home due to the HOA and my garage is not big enough. Luckily my employer lets me use a mechanic bay. I'm only able to wrench on it on Fridays as I live 70 miles away. The Scout is equipped with a 345, TF727, FA-Dana 30 w/disc, RA- Dana 44 & Dana 20 t-case. I don't know what it is about these IH Engines...I don't have the heart to replace it. So this is no longer an LS project. Here's my progress after about 30 Fridays at an estimated 6 hours per day. Most work performed with ratchets and a lot of WD-40. One of the mechanics let me borrow his 1/2" pneu. impact to tear down the frame. I got to get an impact and sockets.
Attachments
-
 20191221_100859.jpg3.6 MB · Views: 864
 -
 20200228_101828.jpg4 MB · Views: 842
 -
 20200327_134605.jpg3.5 MB · Views: 789
 -
 20200515_133653.jpg3.3 MB · Views: 780
 -
 20200828_115026~2.jpg1,018.3 KB · Views: 770
 -
 20200828_115045~2.jpg588.4 KB · Views: 797
 -
 20201006_121821.jpg2.6 MB · Views: 762
 -
 20201002_113759.jpg2.9 MB · Views: 780