mtnscoutiigrl
New member
Thank you. Your advice is sound and appreciated. I’m slowly but surely replacing the worn parts and so far have done with scout parts only.
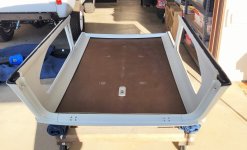
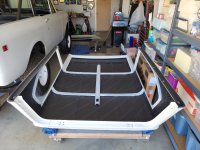
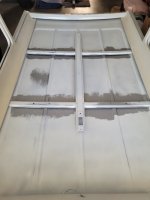
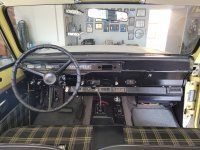
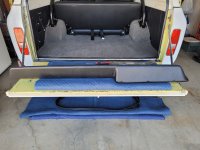
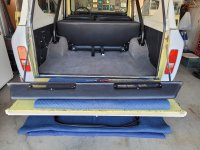
The truck runs great. I am soon going to have to contend with replacing the floor plans and a few of the support bars underneath the driver’s side. Originally I thought I would be able to do it myself, but not sure if my welding skills are there. I definitely don’t want to be flintstoning it.
Thank you for your feedback!