mjolnir
Member
Day 1:
not as much progress as I had hoped. But enough detail going on off the Scout that tomorrow it will all come together pretty fast.
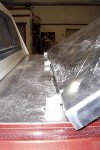
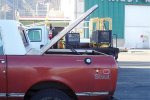
Step 1. The filler piece is cut and installed. Later it was stiffened and attached to the side rails.
Step 2. Both side rails mounted and fitted on to the Scout and attached to filler piece.
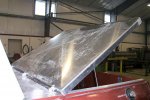
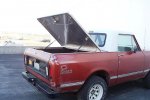
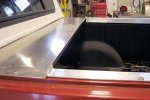
The cap is on the bench being modified for the piano hinge and will go on the Scout first thing in the morning. The outfit that bent up the cover did a great job. The cap is a trapezoid shape with diagonal cross bends for strength. I'll have pics tomorrow.
not as much progress as I had hoped. But enough detail going on off the Scout that tomorrow it will all come together pretty fast.
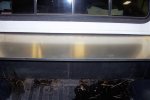
Step 1. The filler piece is cut and installed. Later it was stiffened and attached to the side rails.
Step 2. Both side rails mounted and fitted on to the Scout and attached to filler piece.
The cap is on the bench being modified for the piano hinge and will go on the Scout first thing in the morning. The outfit that bent up the cover did a great job. The cap is a trapezoid shape with diagonal cross bends for strength. I'll have pics tomorrow.
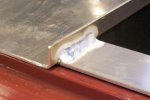
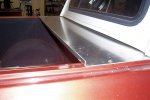
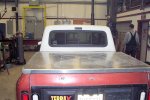
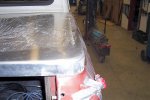
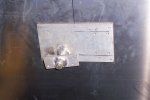
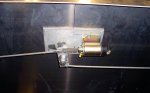
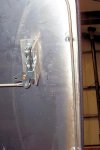
 the rest of the days activities were planned around the cap being in place. So the pictured tabs were thrown on. I will live with them for now but I don't like the look.